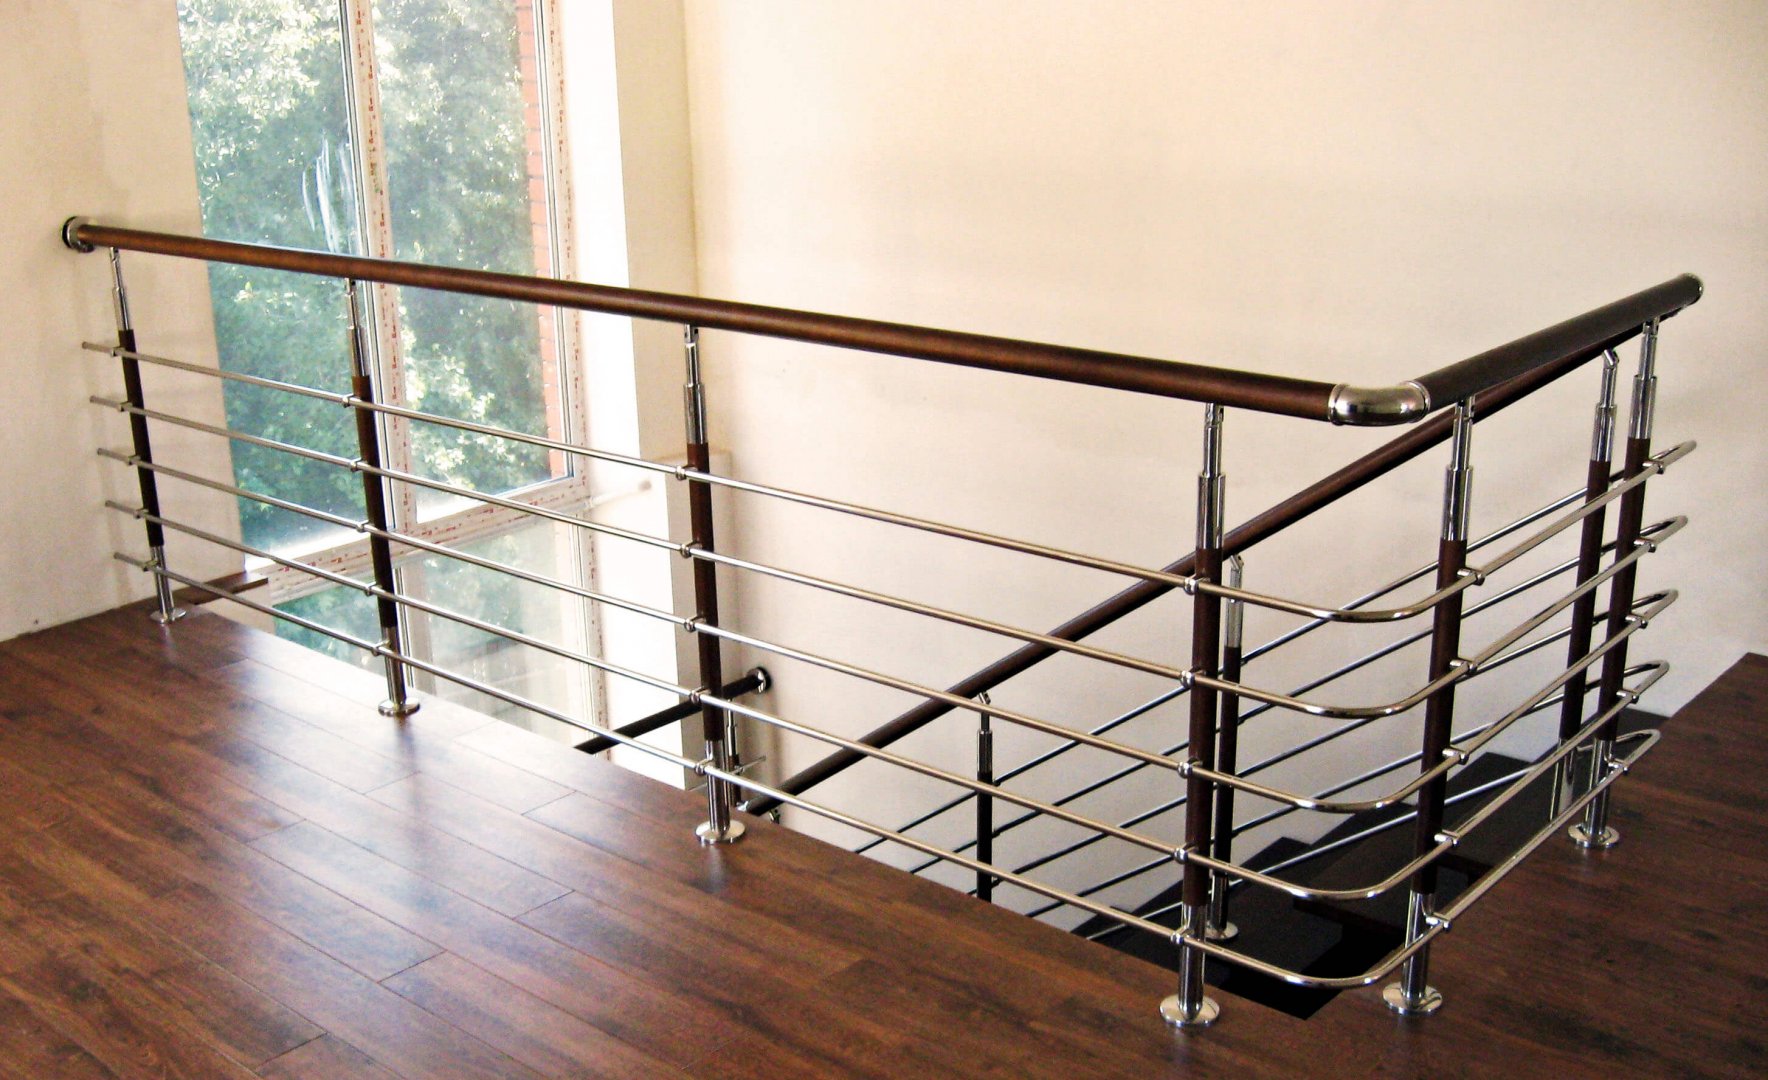
railing, consisting of a convenient handrail and filling, are an element, affecting the convenience and safety of using the stairs. Correct installation of the balustrade is a guarantee of safety for all users. In this article, we will tell, how to do it step by step railing installation and what mount to choose. 
building codes
Building legislation and regulations on technical conditions contain clear instructions on how, how to install railings. Outdoor and indoor stairs, used to overcome heights of more than 50 cm, must be provided with railings or other protection from open space with a height of 110 cm. Handrails must be up 85 – 100 cm (first handrail) and extra high 60 – 75 cm (optional, second handrail). For stairs wider than 4 m, it is necessary to additionally install an intermediate fence.
If the railings are filled with wooden balusters or steel poles, the distance between them should not exceed 12 cm. Such a design, made even contrary to aesthetic value, will protect households or other users of the stairs for many years.
When designing, do not forget about users, for which the stairs and balustrade are intended - for example, place markings for the blind and visually impaired at the end of the handrail. Application of signs, Braille, a specialist in the field of typography should be engaged - the recommendation follows from the fact, that a common mistake made by contractors is to install signs upside down.
Attachment - top or side?
The traditional and most popular way to install railings is to attach them to posts from the top of the stairs.. However, this is not the optimal method.. As a result of drilling the surface and breaking the insulating layers, water can penetrate inside. Using too short a distance from the edge can also cause cracks in the stair or its top surface., which in the end will not be very aesthetically pleasing. That's why it's so important, that this type of railing attachment be made with the utmost care in terms of finish. Besides, this solution reduces the usable area of the stairs, ie. their width.
An increasingly popular method is to mount railings on the side of stairs.. This solution will work, if the thickness and strength of the material allow. Thus, the width of the passage is not limited., and the mount itself is aesthetically hidden - of course, if the assembly is done correctly. Particular attention in this case should be paid to the waterproofing of such a connection and protection against corrosion., t. it is. use of appropriate anchors, eg, in stainless steel A4 or acid-resistant steel C9.
Technology Choice
Railing installation technology depends on the architecture of the stairs, aesthetic considerations and functional expectations of future users. Previously, balustrades for concrete stairs had to be “planned” at the design stage of the building - it was necessary to release the beams from the concrete structure, to which bowstrings with handrails were attached.
Today, thanks to innovative solutions, handrail installation made easy, but only a specialist should carry it out. good, simple and economical fastening, which has recently become available, is the new concrete screw ULTRACUT FBS II. Unique thread geometry guarantees faster and safer installation. Concrete screw also available in A4 stainless steel. This provides high protection against corrosion and allows it to be used in damp rooms and outdoors..
Measuring and marking holes
Attach railing elements to stairs, if possible, or measure attachment points. Mark them with a marker and finally check the correctness of their placement.. Concrete, like an inelastic material, does not forgive measurement errors.
Hole preparation
In the stairs, which will not be finished with cladding, or where the railing is attached to the side and the connectors will not be covered by anything, attention must be paid to the aesthetics of the mounting holes. It is also best to do this in two stages - first drill a hole with a diameter of several millimeters, and only during the second drilling increase it to the required diameter. As a result, stresses at the drilling site will be minimized., and the concrete surface should not chip.
Drill holes, using the right equipment – a concrete drill or a drill with an impact option. The hole diameter must be equal to the thickness of the bolt and 10 mm deeper than its length. No cleaning of the hole is required for vertical mounting - when using ULTRACUTA, it is enough to make the hole deeper by three screw diameters.
With side mounting, the hole must be cleaned of dust - with a vacuum cleaner or brush. It is allowed to make holes with simultaneous suction of dust or holes, made with diamond technology, then additional cleaning of the hole is not required.
Railing installation
When the holes are ready, lower the balustrade and fix it with ULTRACUT FBS II screws. Remember, that the screws can be loosened twice, therefore at this stage it is possible to adjust the height and level of the railing. Making sure the structure is in the correct position, tighten the screws, making sure, that the mount is straight (the head of the screw is flush with the base).
Checking
ULTRACUT FBS II in stainless steel version (A4) resistant to corrosion and weathering, and you have nothing to worry about. However, be sure to protect the holes, so that water does not get inside, which can lead to cracking. Finally, check fastening strength.
Safe Assembly
Using ULTRACUT concrete screws saves time, which leads to a reduction in the cost of the entire project. Drop anchors are an alternative here., which do not allow loosening and changing the position of the structure, so the first approach is also final. Same with chemical anchors. Solution dries quickly, leaving a strong bond, which cannot be "shifted" by standard methods. However, these solutions require much more time..