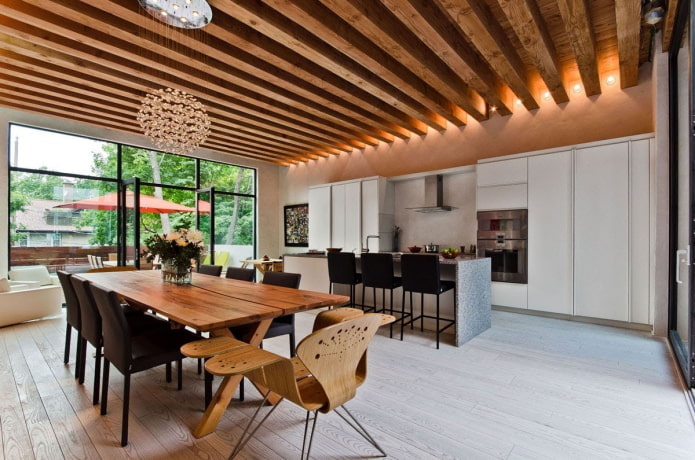
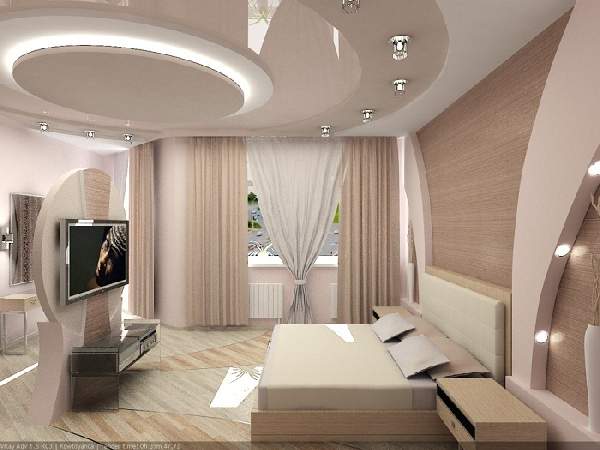
The design of an apartment or house can look much more interesting with a suspended plasterboard ceiling.. for example, in the living room you can create a multi-level design, in the niche of which to hide the backlight. Fulfilling bedroom renovation better to do with a single-level ceiling, not to overload the interior, which should relax.
In this article, we will consider the installation of single-level plasterboard ceilings.. In simple terms, it is a flat ceiling without all sorts of steps and ledges. Thus, almost any ceiling can be leveled, the only negative is the actual decrease in the height of the room. In standard Khrushchevs with two meter ceilings, you should be very careful.
Before installing the profiles, you should mark the level of our future plasterboard ceiling around the perimeter of the room on the walls. This can be done either using the building level, or hydraulic level.
Now you can proceed with the installation of the metal frame. First, around the entire perimeter along our line on the wall, we fasten the guide profile, most often it is a "P"-shaped size 27*28 mm. Now you need to decide, how will drywall sheets go: along or across the room. This usually depends on the size of the drywall cut and the profile.. Respectively, This usually depends on the size of the drywall cut and the profile., This usually depends on the size of the drywall cut and the profile..
This usually depends on the size of the drywall cut and the profile. (most often has the shape of "P" and dimensions 27*60 mm) on distance 1000-1200 mm mounted or direct suspension (in the common people "butterfly"), or traction with suspension.

It depends on the height, on which the ceiling will be lowered from the base ceiling, ie. if before 10 cm, then the butterfly is attached, if more 10 cm, traction with suspension. After that, we fix the suspensions and the main profile, remember to check the level, tk. in the middle the profile can bend. Thus, first we fasten the entire length of the frame throughout the room, and top add transverse elements with the same step. You can attach them in two ways.: is it factory or "folk".
Its useful to note, that the "folk" method is no worse than the factory. Factory means using a sibling connection, called "crab". In the "folk" method, this element is not used, it is replaced by a piece of guide profile, approximately long 10-15 cm, which is screwed to the side of the main profile, and the profile is already inserted into it. As a result, we should get a frame of squares 60*60 cm.
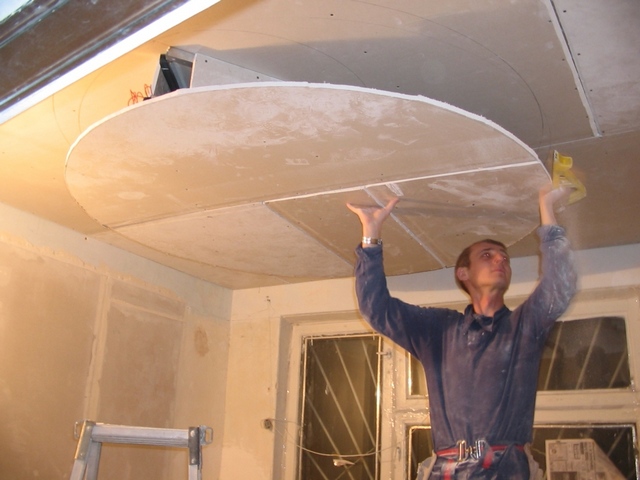
Now let's move on to the installation of the drywall sheets themselves, they are mounted side by side, ie. the first page begins with the installation of a whole sheet, and the second – half. This is done in order to, so that the transverse seams are not at the same level. We fasten the sheet with self-tapping screws with a step of approximately 250 mm. We “drown” the screw cap a little, so that after you can putty. But in this way, so that the self-tapping screw does not break through the top layer paper. Basically, the ceiling is ready, it remains only to embroider non-factory seams, glue the sickle and you can putty.