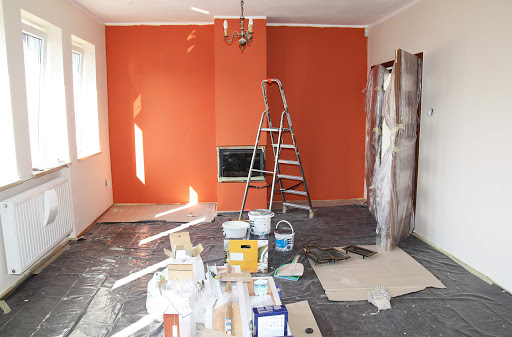
Although each design is different, installation roof necessary pick up in particular to form roof but also must be consider location building, but there is many general rules needed to adoption and compliance. IN this article you learn on what costs pay Attention.
installation roof–complex task, Consequently you see on photos important and sensitive moments mounting coverage. For representation used ceramic black tile, one of proposals company Roben.
- making roof will begin from stacking waterproofing film, indurated on wood design. Her, as rule attached to the rafters stapler.

- waterproofing at connection should overlap friend another with significant overlap. specific meaning there are in instructions from producer for selected you film.

- Before the beginning nailing rails, must just determine them distance for selected material. For this goals invest on smooth surface row shingles. is he should to consist of 12 tiles randomly manner extended of of a few pallets. elements fit this manner, that end locks overlapped.

- The dimension between the ends of the first and eleventh tiles are measured, and then divided into 20. The result is the average distance between the laths.

- Reiki nailed in the measured distances. Company Roben average distance for shingles is Piemont 379 mm. All components of the roof should be smooth.

- After installing gutters is also worth a nail ridges overhang, preferably with the grille, which prevents nesting birds roofed and provides optimal ventilation of the coating.

- Fixing tiles, t. it is. fixing, very important - because it prevents wind uplift tiles. In areas recommended every third fixing tiles diagonally, if the location of the construction and the specificity of the roof does not require other solutions.

- when the chimney, windows, in baskets, as well as in other critical areas of the roof, usually require tile cutting. Cutting should be done so, dust to accumulate any on it, or on film - ie,. better for slope.

- Chimney tape would be best to first prepare, before you start processing.

- Tape for so-called soft chimney should stick so, that she came close to the tiles at the same time you need a good press it against the surface of the coating.

- joint has two layers of tape necessary to accurately glue, that the union did not yield and did not proceed.

- The steps are mounted on two brackets. The mounting location should be cut tile locks so, brackets to stably based on the tile surface.

- In order to stably secure accessories such as stepping stones, obstacles for snow snow, etc.. d., above the rails on which the shingles nailed additional rail, to which are fastened with screws fasteners.

What, in general you have learned how to tile attached. In the following video you will learn the secrets of the additional installation of the material, pleasant viewing.