Do you want to paste wallpaper on the ceiling? There are different types of such products, depending on the purpose.. With this type of finish, you can simply level the ceiling and protect it from cracking., but you can emphasize the design of the room and visually expand the room.
[contents]
In which rooms do you need to glue wallpaper on the ceiling
Before gluing wallpaper on the shelves, you should accurately determine the design of the room.. This type of finish is not suitable for all types of premises..
The colored pattern on the surface greatly reduces the size of the room. Therefore, this type of decoration is not at all suitable for small rooms., there, the visual size should only be increased.
A simple, unobtrusive pattern is suitable for the ceiling in a living room or other large room.. It is possible to use warm shades on the kitchen ceiling.
Thick wallpaper can serve as additional soundproofing of the ceiling. Varieties with a soft foam base are especially suitable for this..
Varieties and materials
They are glued to the ceiling as special ceiling types of wallpaper., and conventional wall. Ceiling varieties are characterized by increased density and thickness.
They are divided into several types.:
- Regular;
- Washable;
- Moisture resistant.
The specific type is selected depending on the room, which is supposed to be glued.
Special moisture-resistant varieties are glued in the kitchen. They can, resist high humidity. They can also be washed from fatty deposits., which can form due to poor ventilation. You can also stick a special moisture-resistant film on top of ordinary wallpaper..
Beautiful patterned varieties are glued in the living room, that emphasize the design of the entire room. These can be light patterns., which visually expand the room and raise the ceiling. This type of finish can also create additional coziness., picking up warm cream varieties in the room.
Ceiling wallpaper is also great for dividing a room into zones.. So a one-room small apartment can be divided into a bedroom, living and working areas.
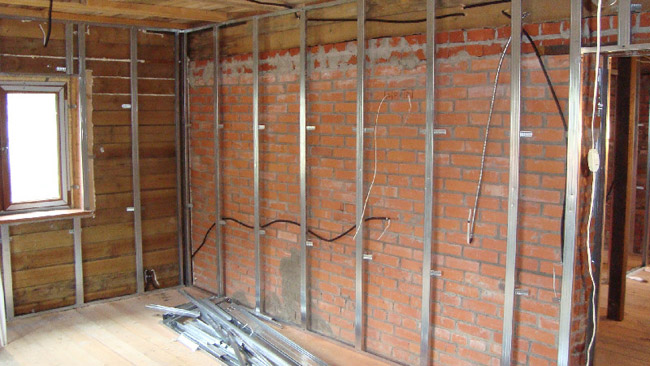
Preparation for gluing
The surface for this type of finish must be strong and even.. All old putty and finish should be removed first.. The ceiling is covered with a primer, after which a starting putty is applied.
It is very important to properly seal the joints between the slabs and cracks.. In such places, you need to apply a paint net.. It protects the surface from cracking in the future and repairs will not need to be redone after a few years..
After the starting putty has dried, the surface is sanded. I fill up small dents and scratches with a finishing putty. The procedure is repeated until the ceiling is completely leveled.. After applying the last layer of putty, the surface should be re-primed.
The thinner the wallpaper, which are you going to glue, the more equal the surface is needed. So under thick embossed wallpaper is enough 2 layers of putty. And for thin non-woven wallpaper you need a perfect surface, which can be done after five to six layers of putty.
Getting started gluing
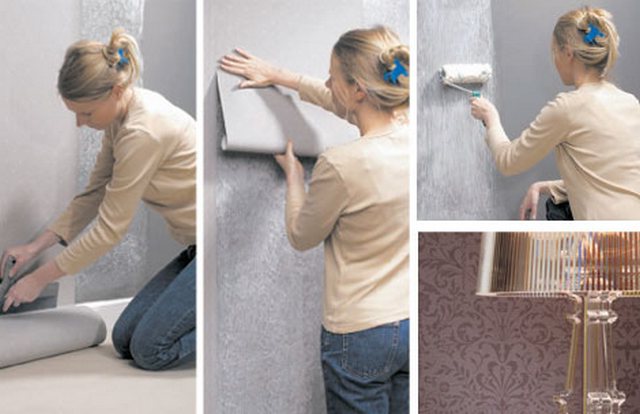
You need at least two people to glue these wallpapers.. First, the glue is applied to the ceiling. The glue should be thickened so that it can hold the heavy sheet on the ceiling..
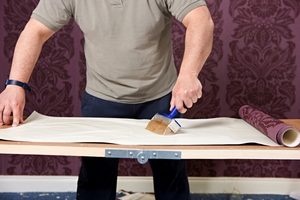
We recommend not gluing the whole roll, and cut off the desired strip with a margin of five centimeters. Residues after drying can be cut off with a clerical knife.
One person should apply the strip to the ceiling, and the other to hold the roll. Sizing starts from the far wall. The strips are glued end-to-end alternately.
Video instruction on how, how to properly glue the wallpaper on the ceiling
Following these simple guidelines, everyone can stick wallpaper on the ceiling in the room and in the kitchen. We recommend using only high-quality materials., they will serve you for many years.